Authenticate With Any OAuth Provider With Laravel Socialite
Given Ncube
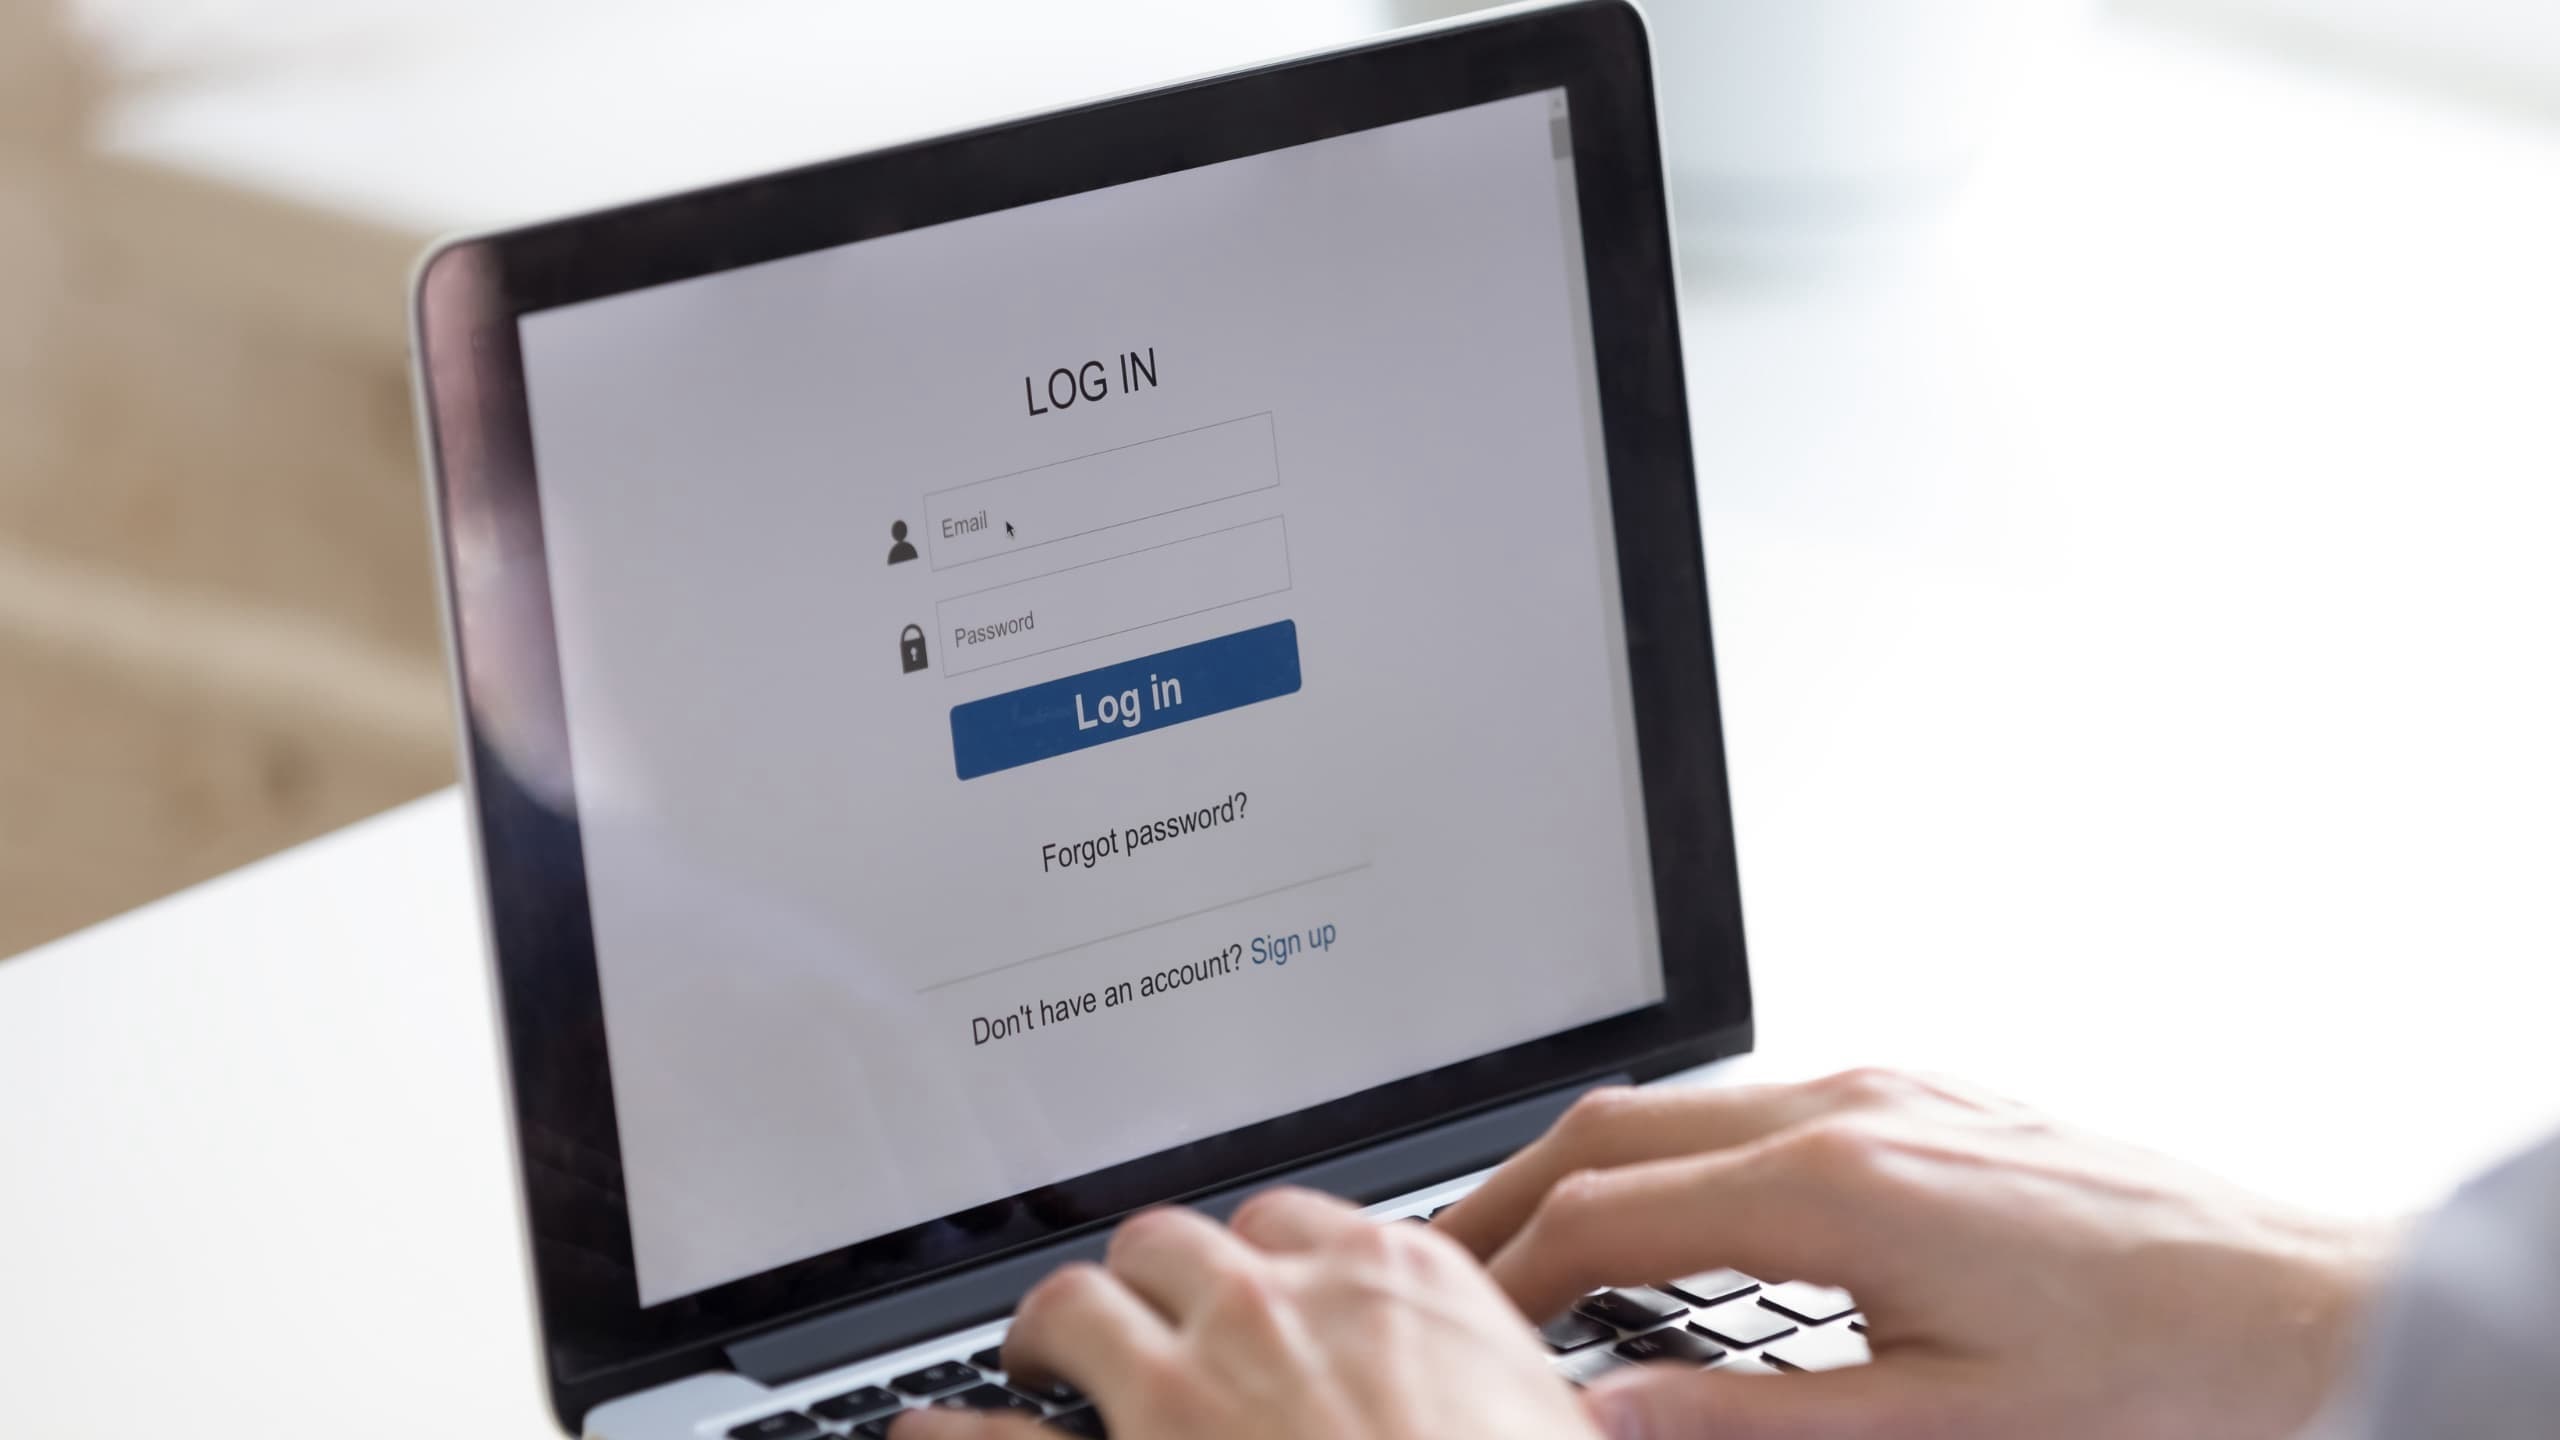
Ever tried to create an account on a website and find out there's no option to "login with Google"? Annoying, right? You're not alone. Luckily for you I can help you prevent that and get more signups for your app
In this post I will show you how to create a universal Socialite Controller that works for any socialite driver
To get start, let's install socialite with composer on a Laravel pronect
composer require laravel/socialite
So the way socialite works is that a user clicks on a link that redirects them to a 3rd party site to login and then redirected back to your site for the actual login.
So first, let's create the socialite controller
php artisan make:controller SocialiteController
Redirect
So this is when we redirect the user to 3rd party OAuth provider to login. Add this method to the SocialiteController
/**
 * @param string $driver
 * @return RedirectResponse
 */
public function redirect(string $driver): RedirectResponse
{
    return Socialite::driver($driver)->redirect();
}
So the redirect takes a $driver as an argument so we can add any driver any time. Say, you had used Google before, and now you want add GitHub, you just change a route parameter
Callback
After the user is logged in, they are redirected to a callback URI that does the actual login. Add the following method to the controller
/**
 * @param string $driver
 * @return RedirectResponse
 */
public function callback(string $driver): RedirectResponse
{
    try {
        $socilite = Socialite::driver($driver)->user();
    } catch (Exception) {
        return to_route('login')->with('error', 'Something went during. Please try again.');
    }

    $user = User::whereEmail($socilite->getEmail())->first();

    if (is_null($user)) {
        $user = User::create([
            'name' => $socilite->getName(),
            'email' => $socilite->getEmail(),
            'password' => Hash::make($socilite->getId()),
        ]);

        event(new Registered($user));
    }

    auth()->login($user, true);
    session()->regenerate();

    return redirect()->intended(RouteServiceProvider::HOME);
}
This method also takes the $driver as an argument to tell socialite which provider was used login.
If for some reason something went wrong, we redirect the user to the login page with a flash error message
We then check if the user has an existing account, if not, we create an new one with a random password which they can change later from the profile page if they so wish
Else, we log them in and regenerate session to prevent session high jacking by bad actors
Finally we redirect the user to the intended URL
Routes
To make this work, we need to register the routes for this controller
Route::get('/auth/{driver}/redirect', [SocialiteController::class, 'redirect'])
    ->name('socialite.redirect')
    ->whereIn('driver', ['google']);

Route::get('/auth/{driver}/callback', [SocialiteController::class, 'callback'])
    ->name('socialite.callback')
    ->whereIn('driver', ['google']);
Here we add {driver} as a route parameter which will be injected into the callback and redirect method thanks to Laravel's Dependncy Injection.
Say a bad actor realizes that the {driver} parameter is dynamic, and tries other characters like a social driver that does not exist, that could have unwanted side effects.
To prevent this, we call the whereIn() method and tell Laravel to expect only a defined set of values for the driver param, in this case just "google". Anything else besides that will throw a 404 Not Found.
Socialite authenticate with Google
Our code is ready for use, in production! In this example, let's allow users to login to our app using their google accounts.
First, get credentials from Google Cloud Console
Step 1, visit https://console.cloud.google.com and signin with your google account
Step 2, Create a new project or use an existing one
Step 3, Click the 3bar menu and select APIs & Services > Credentials

Step 4, Click on Create Credentials > OAuth Client ID
Step 5, Select Web Application from the dropdown and enter name and redirect URIs

On the redirect URI this is where you put the link to your callback route replace the {driver} param with "google". For example http://localhost:8000/auth/google/callback
Now all that is left is just creating a link that your users can click to login with Google. For example if you have a Breeze Starter kit installed
<a href='{{ route('socialite.redirect', 'google') }}'>
    <x-secondary-button aria-label="Continue with google"
                        class="w-full justify-center mt-5">
        <img src="https://tuk-cdn.s3.amazonaws.com/can-uploader/sign_in-svg2.svg"
             alt="google">
        <p class="text-base font-medium ml-4 text-gray-700">Continue with Google</p>
    </x-secondary-button>
</a>
I hope this helps you to create more smooth login flows for your apps. To make sure you don't miss another tutorial like this when it's up, follow me here on DEV and get a ping each time I make a new post.
I regularly post helpful laravel tuts like this, subscribe to the newsletter below and get notified when it's publish the next one